|
本篇文章给大家介绍一下Angular中父子组件间传值的方法。有一定的参考价值,有需要的朋友可以参考一下,希望对大家有所帮助。 
相关推荐:《angular教程》 Angular中父子组件传值
官方地址:https://angular.cn/guide/component-interaction#component-interaction 1. 父组件给子组件传值 - 说明: 父组件给子组件传值的时候,父组件中在子组件的选择器上绑定数据即可
<app-hero-child [transData]='tran_childData'></app-hero-child> - 子组件接收的时候需要引入
input模块import { Component, OnInit, Input} from '@angular/core' - 子组件还需要使用语法糖的形式接收父组件传递的参数
@input() transData
1.1 父组件hero-parent 1、hero-parent.component.html <p>这是父组件</p>
<app-hero-child [transData]='tran_childData'></app-hero-child> 2、hero-parent.component.ts import { Component, OnInit } from '@angular/core'
@Component({
selector: 'app-hero-parent',
templateUrl: './app-hero-parent.component.html',
styleUrls: ['./app-hero-parent.component.scss']
})
export class HeroesComponent implements OnInit {
tran_childData:string = '这是父组件传递给子组件的数据'
constructor() {}
ngOnInit(): void {}
}1.2 子组件hero-child1、hero-child.component.html <p>{{transData}}</p>2、hero-child.component.ts import { Component, OnInit, Input} from '@angular/core'
@Component({
selector: 'app-hero-child',
templateUrl: './app-hero-child.component.html',
styleUrls: ['./app-hero-child.component.scss']
})
export class DetailComponent implements OnInit {
@Input() transData: string
constructor() {}
ngOnInit(): void {
console.log(this.transData)
}
}1.3 效果图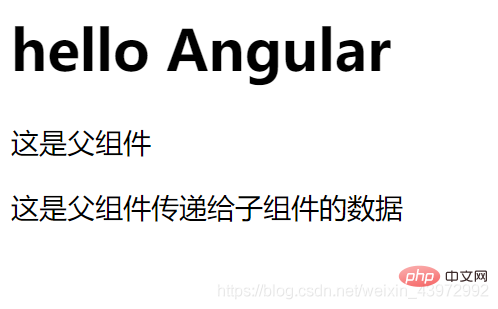
2. 子组件给父组件传递参数 - 说明:子组件给父组件传递参数的时候需要导入
Output和EventEmitter,引入模块import { Component, OnInit, Output, EventEmitter} from '@angular/core' - 使用的时候需要先暴露一个方法
@Output() childEvent = new EventEmitter()用来使用emit传递数据 - 具体使用
this.childEvent.emit('我是子组件传递的数据')
2.1 子组件hero-child hero-child.component.html<button (click)='transData_to_parent()'>我是子组件,给父组件传递参数</button> hero-child.component.tsimport { Component, OnInit, Output, EventEmitter} from '@angular/core'
@Component({
selector: 'app-hero-child',
templateUrl: './app-hero-child.component.html',
styleUrls: ['./app-hero-child.component.scss']
})
export class DetailComponent implements OnInit {
@Output() childEvent = new EventEmitter()
constructor() {}
ngOnInit(): void {},
// 给父组件传递参数
transData_to_parent() {
this.childEvent.emit('我是子组件传递的数据')
}
}
2.2 父组件hero-parent 1、hero-parent.component.html <p>这是父组件</p>
<p>{{receiceData}}</p>
<app-hero-child (childEvent)='receive_child_data($event)'></app-hero-child>2、hero-parent.component.ts import { Component, OnInit } from '@angular/core'
@Component({
selector: 'app-hero-parent',
templateUrl: './app-hero-parent.component.html',
styleUrls: ['./app-hero-parent.component.scss']
})
export class HeroesComponent implements OnInit {
constructor() {}
ngOnInit(): void {}
receiceData:string
// 接收子组件传递的数据
receive_child_data(data) {
this.receiceData = data
}
}2.3 效果图 
更多编程相关知识,请访问:编程视频!! 以上就是详解Angular父子组件间如何传值?的详细内容,更多请关注模板之家(www.mb5.com.cn)其它相关文章! |


