|
下面由laravel教程栏目给大家介绍分享laravel8+vue3.0+element-plus搭建方法 ,希望对需要的朋友有所帮助! 
前言前几天突然发现出了 vue3.0 ,刚好闲来无事搭个试试。 开始- 创建 laravel8 项目
composer create-project laravel/laravel laravel8 --prefer-dist 或laravel new laravel8 - 安装 laravel/ui
composer require laravel/ui 根目录下运行php artisan ui vue - 修改 package.json 文件
"devDependencies": {
      "@vue/compiler-sfc": "^3.0.7",
      "axios": "^0.21",
      "bootstrap": "^4.0.0",
      "jquery": "^3.2",
      "laravel-mix": "^6.0.6",
      "lodash": "^4.17.19",
      "popper.js": "^1.12",
      "postcss": "^8.1.14",
      "resolve-url-loader": "^3.1.2",
      "sass": "^1.20.1",
      "sass-loader": "^8.0.0",
      "vue": "^3.0.7",
      "vue-loader": "^16.1.0",
      "vue-template-compiler": "^2.6.10"
  },
  "dependencies": {
      "element-plus": "^1.0.2-beta.35",
      "vue-router": "^4.0.5"
} - 修改 app.js 文件
require('./bootstrap');window.Vue = require('vue');window.VueRouter = require('vue-router');import routes from "./router"import axios from "axios"import ElementPlus from 'element-plus'const router = VueRouter.createRouter({
  history: VueRouter.createWebHashHistory(),
  routes,})import RootComponent from "./components/layouts/App"const app = Vue.createApp(RootComponent)app.config.globalProperties.$http=axios
app.use(router)
.use(ElementPlus);app.mount('#app') - 新建 router.js
import Home from "./components/layouts/Home"export default [
{path:'/',component: Home},] - 新建 App.vue (element-plus 官方文档例子)
<template>
  <el-container>
      <el-header>Header</el-header>
      <el-main><router-view></router-view></el-main>
      <el-footer>Footer</el-footer>
  </el-container></template><script>export default {}</script><style>.el-header, .el-footer {
  background-color: #B3C0D1;
  color: #333;
  text-align: center;
  line-height: 60px;}.el-aside {
  background-color: #D3DCE6;
  color: #333;
  text-align: center;
  line-height: 200px;}.el-main {
  background-color: #E9EEF3;
  color: #333;
  text-align: center;
  line-height: 160px;}body > .el-container {
  margin-bottom: 40px;}.el-container:nth-child(5) .el-aside,.el-container:nth-child(6) .el-aside {
  line-height: 260px;}.el-container:nth-child(7) .el-aside {
line-height: 320px;}</style> - 新建 Home.vue
<template>
  <p>home</p></template><script>export default {
  methods:{
      cs(){
          axios.post("../index").then(function (response){
              console.log(response);
          }).catch(function (error){
              console.log(error);
          })
      }
  },
  mounted() {
      this.cs();
}}</script><style scoped></style> - app.scss 引入 element-plus css文件
// Variables@import 'variables';// Bootstrap@import '~bootstrap/scss/bootstrap';// element-plus@import "~element-plus/lib/theme-chalk/index.css"; - 运行命令
npm install && npm run dev - 效果图
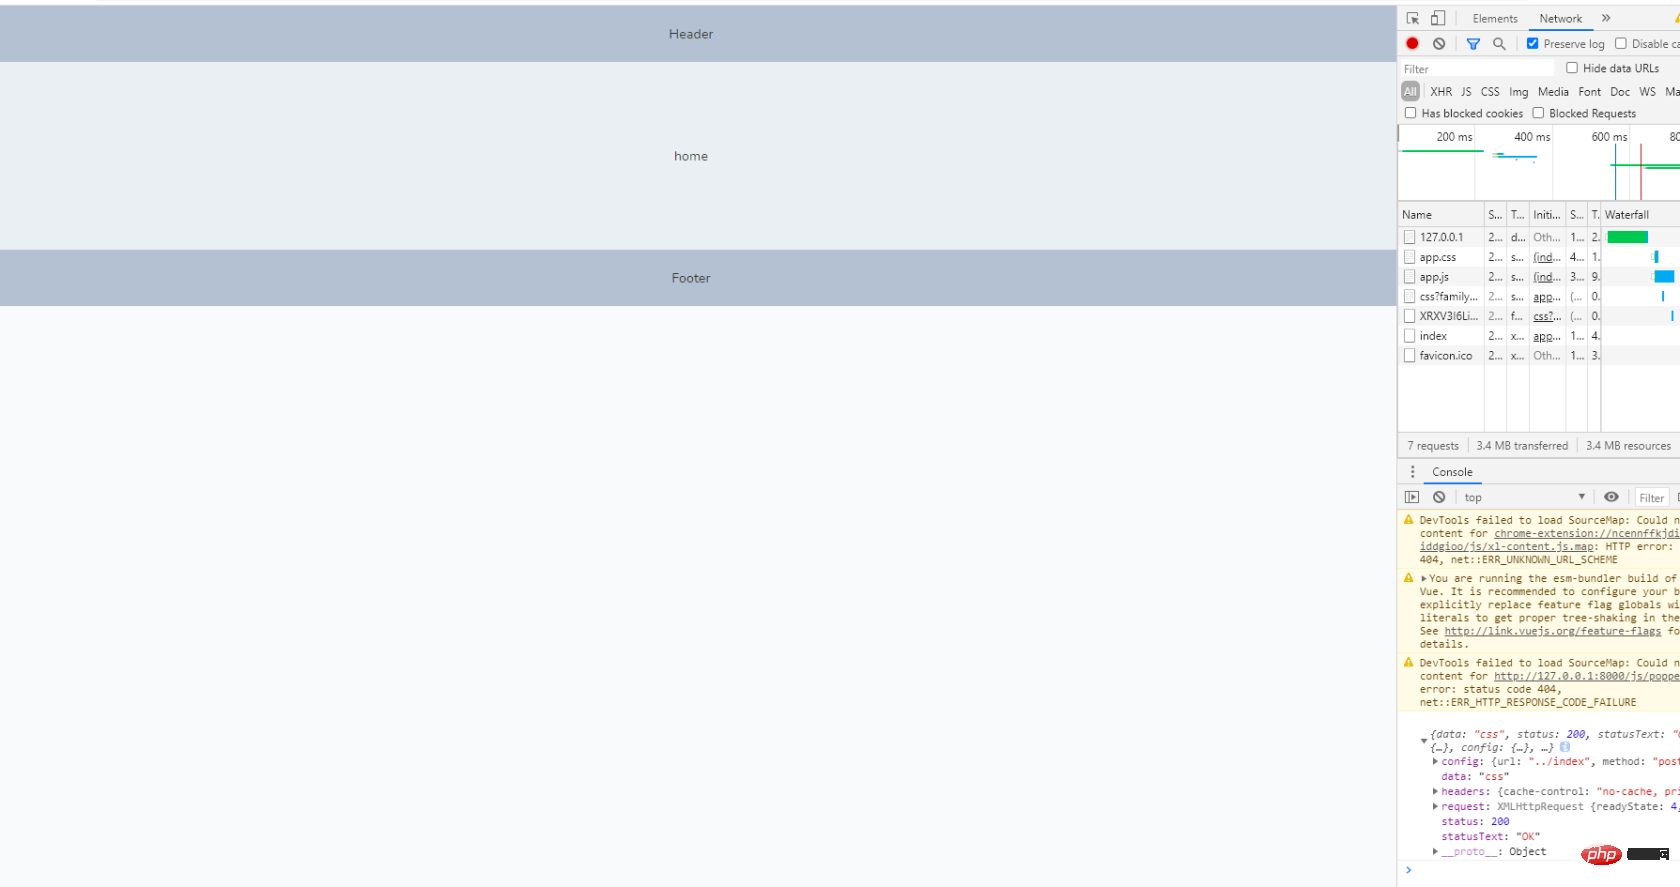
控制台输出为axios post 请求测试。 完毕! 以上就是分享laravel8+vue3.0+element-plus搭建方法的详细内容,更多请关注模板之家(www.mb5.com.cn)其它相关文章! |


